
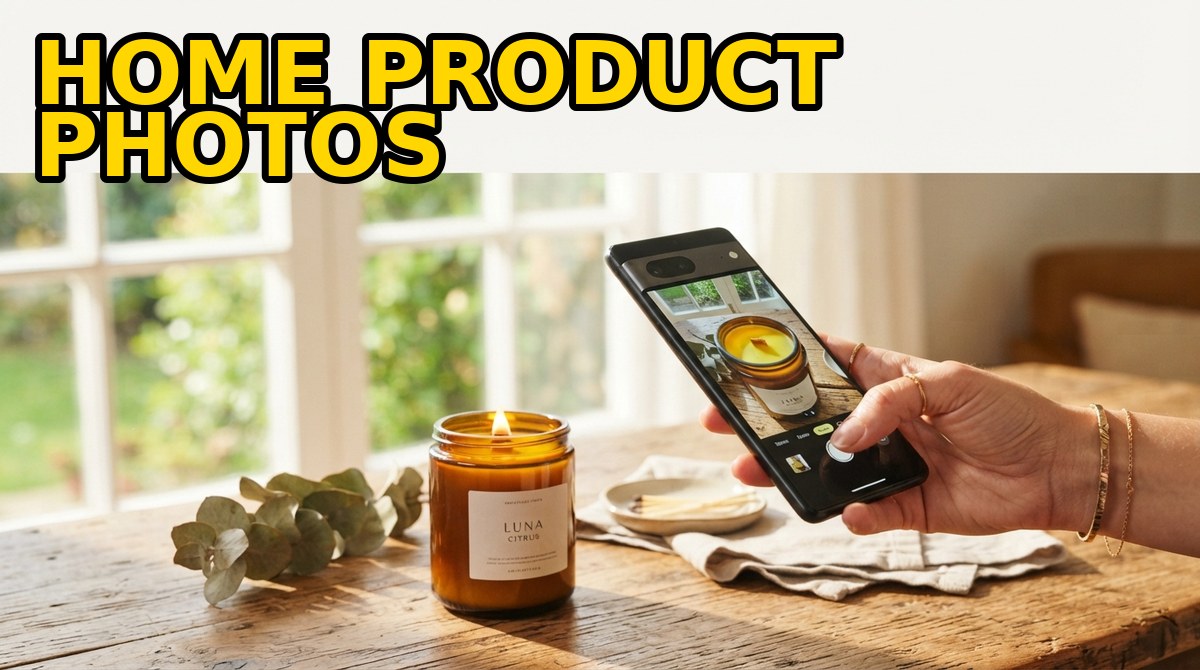
Product Photography on a Budget: How to Shoot Stunning Product Photos Without a Studio
Studio-quality product photos on any budget — lighting, gear, styling and editing you can do at home.
.zzprobe{color:#123456}
Product Photography on a Budget
📸 Why Product Photography Matters
High-quality product images are the single biggest factor in online purchase decisions. Studies show that 75% of online shoppers rely on product photos when deciding on a potential purchase, and listings with sharp, well-lit images consistently outperform their competitors on conversion. The good news? You don’t need a $5,000 camera setup to achieve professional results. With a window, a few dollars of foam board, and a disciplined workflow, you can shoot catalog-worthy photos from your kitchen table.
Lighting accounts for roughly 80% of photo quality. Master lighting first, and even a smartphone can produce images that rival a professional studio.
💡 DIY Lighting Setups That Cost Almost Nothing
Great lighting is soft, even, and directional. You can build all three with items you likely already own. The single best free light source is a large north-facing window on an overcast day — the clouds act as a giant diffuser, wrapping your product in flattering, shadow-free light.
- Window + bounce card: Position the product beside the window, then place a white foam board on the opposite side to bounce light back and fill shadows.
- DIY softbox: Tape a sheet of parchment paper or a thin white pillowcase over a desk lamp to diffuse harsh bulbs into soft, even light.
- Two-light setup: Use two matching daylight LED bulbs (5000K) — one as a key light at 45°, one as fill on the opposite side — for consistent, repeatable results any time of day.
Never mix light sources. Combining warm household bulbs with cool daylight from a window creates color casts that are nearly impossible to fix in editing. Pick one temperature and block out the rest.
🎒 Essential Equipment (Under $100)
- Lightbox or DIY diffuser — A $25 foldable lightbox dramatically improves consistency for small products.
- Tripod with phone mount — Eliminates motion blur and locks in consistent framing shot to shot.
- White foam boards — $5 bounce cards redirect light and kill harsh shadows.
- Daylight LED bulbs — 5000K bulbs simulate natural light for under $15.
🖼️ Choosing the Right Backgrounds
Your background sets the tone for the entire image. For marketplace listings, a clean pure-white background is mandatory — it isolates the product and meets Amazon and eBay requirements. A cheap roll of white seamless paper, or even a large sheet of poster board curved up behind the product (a “sweep”), eliminates the horizon line and creates that floating, professional look.
- White sweep: Best for e-commerce and marketplaces; endlessly reusable.
- Textured surfaces: Slate, weathered wood, or linen add warmth for lifestyle and social shots.
- Solid color paper: A brand-matched color background makes products pop on Instagram and ads.
📱 Phone vs. Camera: Which Should You Use?
The honest answer for most sellers is: use your phone. Modern smartphones capture more than enough resolution for web listings, and their computational processing handles exposure and color remarkably well. A dedicated camera earns its place only when you need extreme close-up detail, shallow depth of field, or full manual control for a large catalog.
Smartphone: Instant, portable, great auto-processing, free. DSLR/Mirrorless: Superior detail and RAW control, better in low light, but steeper cost and learning curve. Start with your phone and upgrade only when it becomes the bottleneck.
🎯 The Tripod: Your Most Underrated Tool
A tripod is the cheapest upgrade that instantly makes photos look professional. It eliminates the micro-shake that softens handheld shots, lets you use lower ISO for cleaner images, and — most importantly — keeps your framing identical across an entire product line. That consistency is what separates an amateur listing from a polished storefront. A $15 phone tripod with a remote shutter (or a 2-second timer) removes the last bit of vibration when you tap to shoot.
⚙️ Camera Settings That Work
Whether using a DSLR or smartphone:
- ISO: Keep at 100–200 to minimize noise.
- Aperture: f/8–f/11 for maximum sharpness across the product.
- White Balance: Set manually to match your light source (5000K for daylight LEDs).
- Format: Shoot RAW if possible for maximum editing flexibility.
Incorrect white balance is the most common reason DIY photos look “off.” Whites look yellow or blue instead of neutral. Set a custom white balance using a sheet of plain white paper as a reference, or shoot RAW and correct it precisely in editing with an eyedropper on a known-white area.
📐 Composition, Styling & Angles
Place your product at the intersection points of a 3×3 grid. This creates visual interest and draws the eye naturally. Most cameras and phones have a grid overlay — turn it on.
Beyond composition, thoughtful styling and varied angles tell a fuller story:
- Shoot a range of angles: A hero shot at 45°, a straight-on front view, a flat-lay from directly above, and a detail macro of texture or material.
- Style with restraint: A single complementary prop (a coffee cup, a plant, fabric folds) adds context without stealing focus.
- Leave negative space for text overlays if images will be used in ads.
- Show scale with a familiar object or a hand when product size isn’t obvious.
🎨 Free & Budget Editing Apps
- Snapseed (Free) — Professional mobile editing with selective adjustments.
- GIMP (Free) — Full Photoshop alternative for background removal and retouching.
- Canva (Free tier) — Quick batch resizing and consistent branding overlays.
- Remove.bg (Free tier) — AI background removal in seconds.
- Lightroom Mobile (Free tier) — Presets and precise white-balance correction on the go.
Create a Lightroom or Snapseed preset with your standard adjustments. Apply it to every shot in batch, then fine-tune individual images. This cuts editing time by up to 70% and keeps your whole catalog visually consistent.
⚠️ Common Mistakes to Avoid
- Harsh direct light — Bare bulbs or midday sun create ugly shadows and blown-out highlights. Always diffuse.
- Mixed color temperatures — Combining bulb types produces uncorrectable color casts.
- Cluttered backgrounds — Anything competing with the product lowers perceived quality.
- Over-editing — Oversaturated, heavily filtered images misrepresent the product and drive returns.
- Inconsistent framing — A catalog where every product sits at a different size and angle looks unprofessional.
🧩 Tips by Product Type
- Jewelry & small items: Use a lightbox and macro mode; a black background makes metallics and gemstones sparkle.
- Apparel: Shoot flat-lays or on an invisible mannequin; steam out every wrinkle first.
- Food & beverage: Prioritize natural light and freshness; shoot fast before condensation or wilting sets in.
- Reflective products (glass, electronics): Diffuse light heavily and watch for your own reflection in the surface.
- Large items: Use lifestyle context to show scale and real-world use rather than isolating on white.
Frequently Asked Questions
Can I really get professional results with a smartphone?
Absolutely. Modern smartphones (iPhone 13+, Pixel 6+, Galaxy S21+) have sensors capable of excellent product photography when paired with proper lighting and a tripod.
What’s the minimum budget to start?
Under $50: a phone tripod ($15), two white foam boards ($5), and a daylight LED bulb with clamp light ($20). Add a $25 lightbox when ready to scale.
How many photos per product should I take?
Minimum 5: hero shot, back view, detail/texture close-up, in-use/lifestyle, and scale reference. Top sellers often have 8–12 images.
White background or lifestyle shots?
Both. White backgrounds are required for marketplaces (Amazon, eBay). Lifestyle shots increase conversion by up to 30% when used alongside clean product images.
How do I fix yellow or blue-tinted photos?
That’s a white-balance issue. Set a custom white balance in-camera using white paper, or shoot RAW and use the white-balance eyedropper on a neutral area during editing.
Ready to Transform Your Product Images?
Start with what you have today. Grab your phone, find a window, and shoot your first product using the techniques above.
⭐ READ OUR FULL REVIEWFeatures, pricing and our honest verdict →
Read next



Travel Hacks Guide Editorial Standards & Testing Methodology
At Travel Hacks Guide, we independently evaluate car rentals, international eSIMs, flight booking engines, and travel insurance. We never accept payment for ranking or recommendations. When you book via links on our site, we may earn an affiliate commission at no extra cost to you.